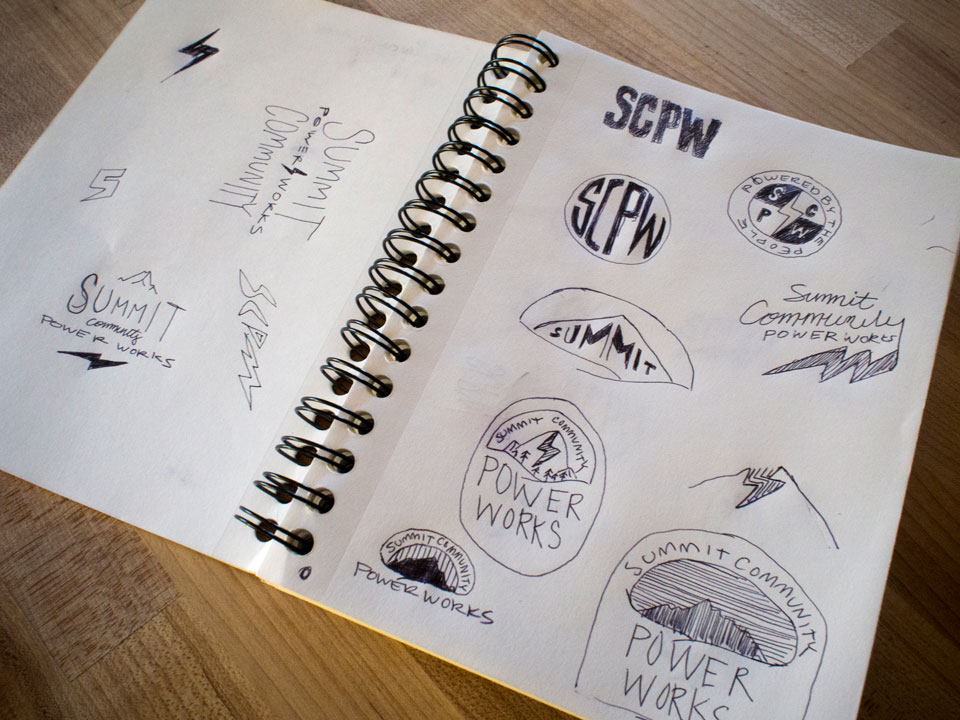
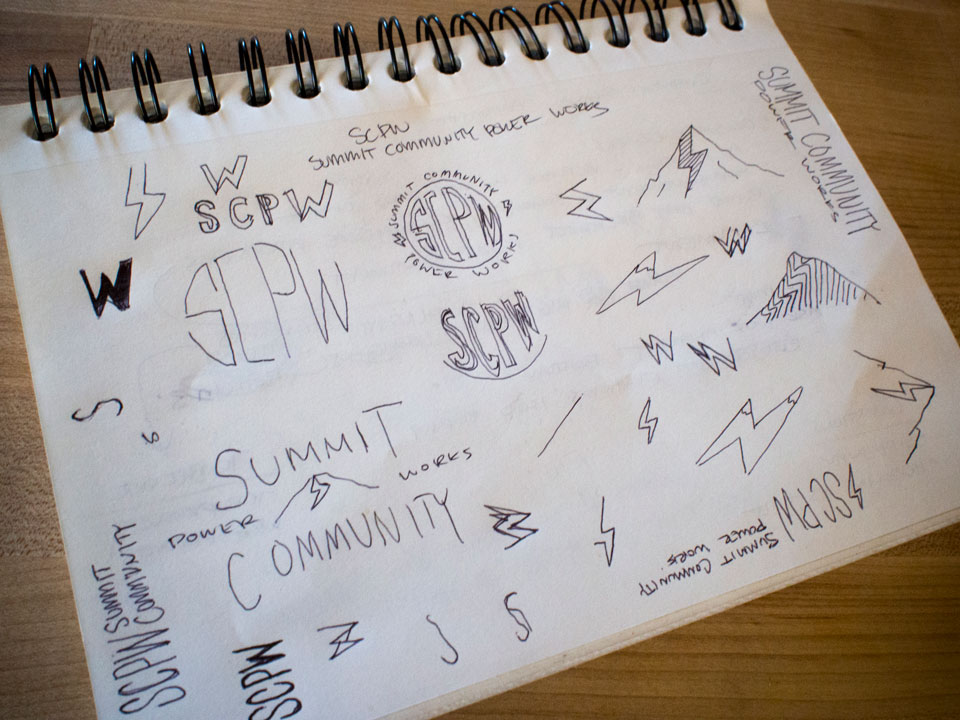
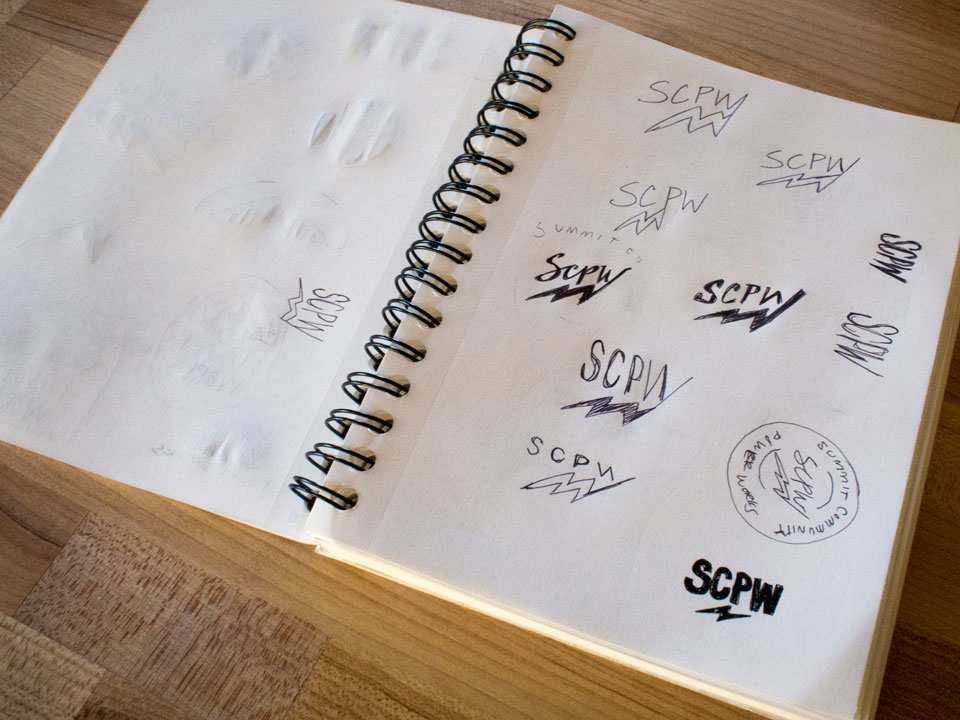
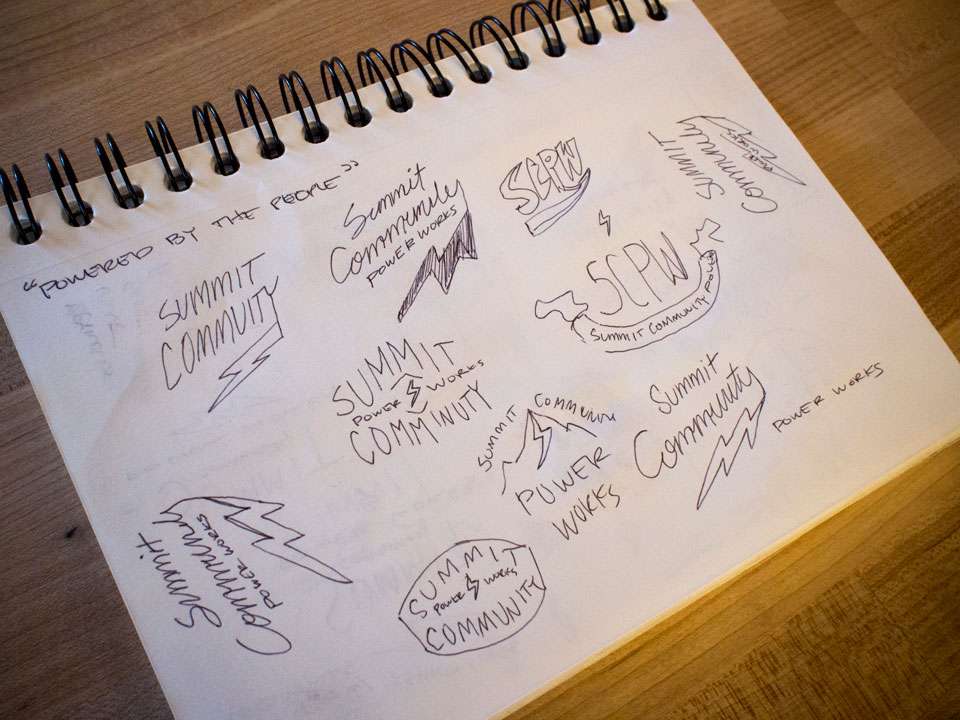
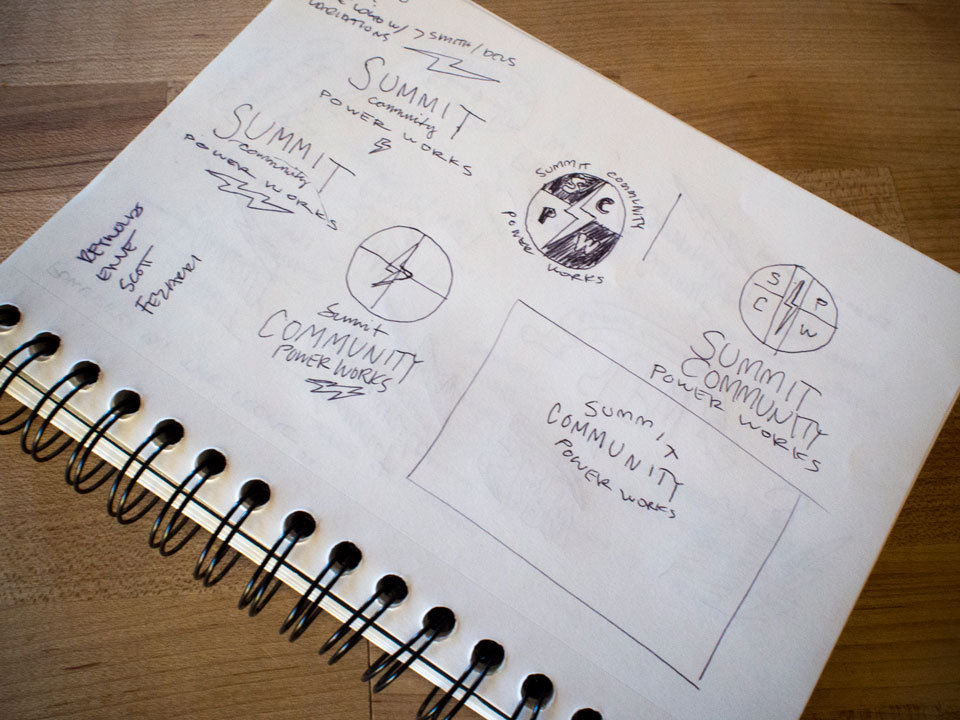
We left off with Part 1 of my logo process after creating a mood board that reflected the desired style and direction as established in the initial creative brief. Now, with a bit of reference material and inspiration in place, I’ll bang out a couple pages worth of thumbnail sketches. The point of these sketches is to get as many ideas on paper as possible. As such, I like to sketch in pen as it prevents me from getting too detailed or editing sketches. Depending on the project constraints, I’ll spend about an hour roughing out potential ideas.
Once my thumbnail sketches are in place, I’ll not look at the mood board again until I’ve solidified a direction and a style, a practice I put in place after watching this piece with Erik Spiekermann on owning your inspiration. It’s impossible not to be influenced by work that’s come before us, as it’s all around us. However I do believe it is our responsibility to both other designers and our clients to maintain a level of creative integrity.
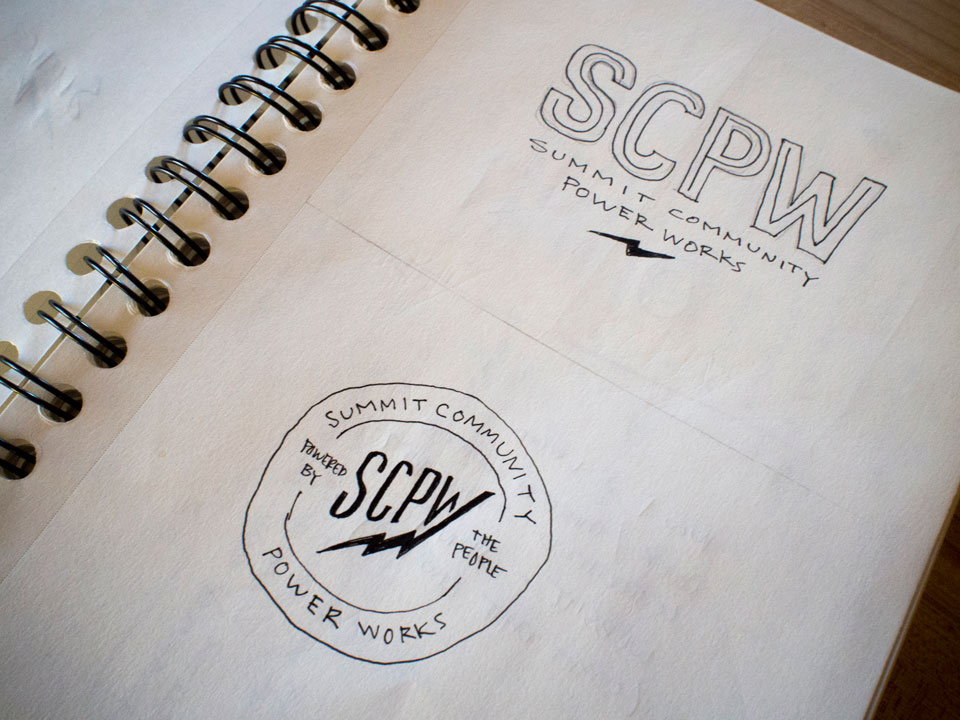
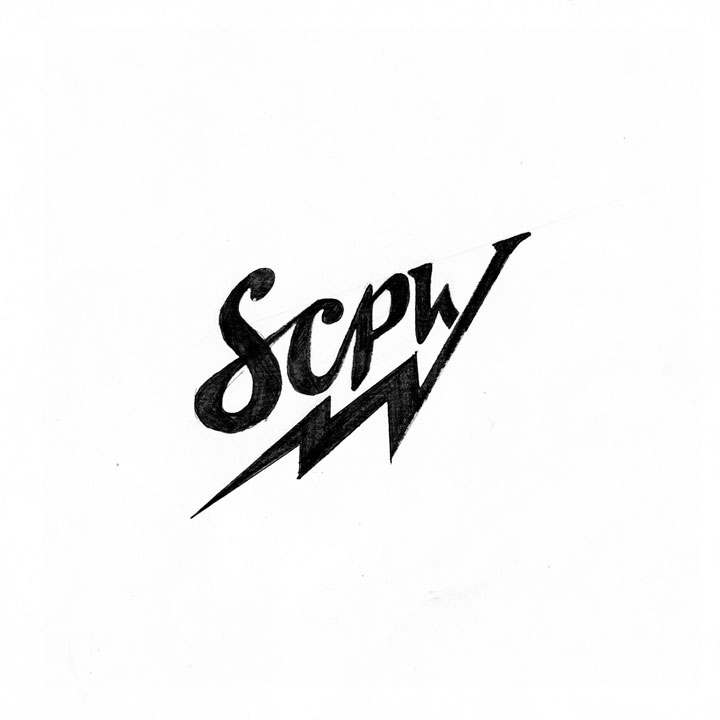
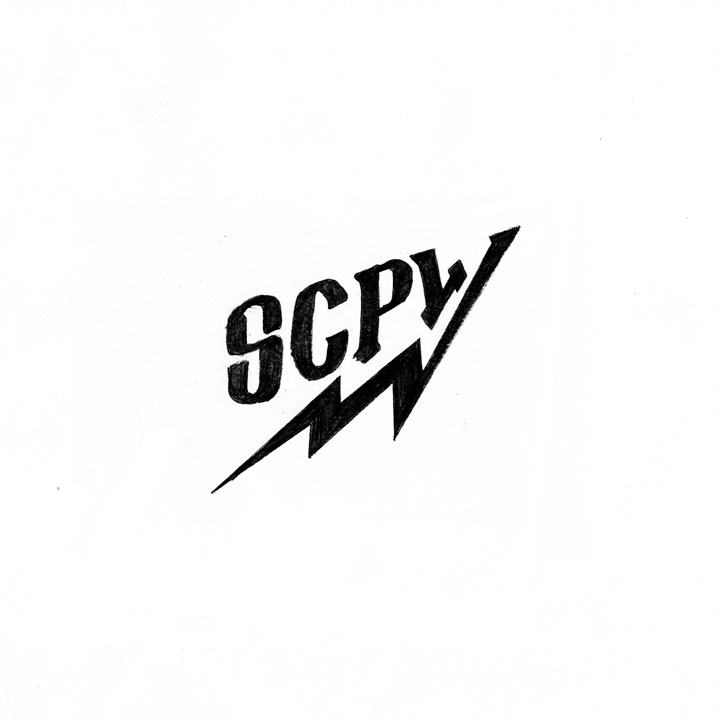
Here’s where the process splits depending on the project constraints. For clients working with a tight budget, there’s often not room in the project to flesh out the roughs before the first review. In this case, I’ll present a few select thumbnails that I feel best communicates intent and vision. On projects where budget and time permit, I’ll select two or three roughs and develop as more refined sketches or in some cases digital proofs to first show the client.

After presenting and receiving sign-off on the direction from the client, I’ll now start production on the logo and any of the agreed upon assets for the project, which we’ll cover in Part 3.